
Join me for a tour of the upstairs front unit of our first historical renovation!
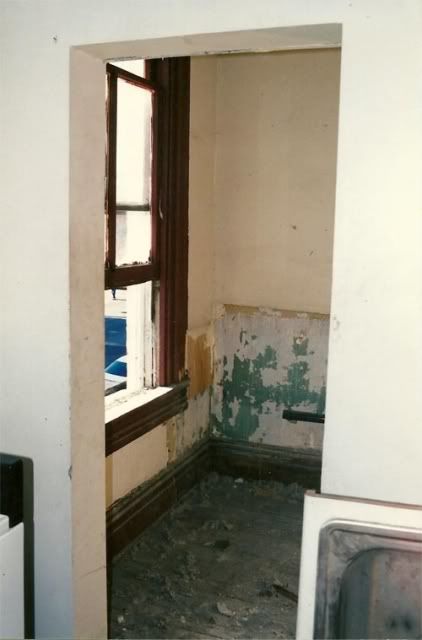
The kitchen area was enclosed, and we decided to remove a wall to add a breakfast bar dining area and open it up to the living room. You can see the teeny tiny doorway to the old kitchen here:
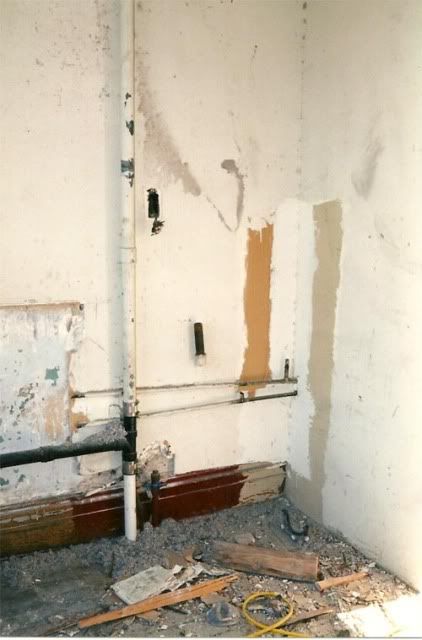
The antiquated knob-and-tube wiring and old rusty plumbing throughout the house had to go. Unlike most people who "renovate" today by tearing a house down to the studs and rebuilding with new materials, I decided to preserve the plaster walls, original wooden windows and decorative woodwork that made me fall in love with this circa 1885 house in the first place. Check out the old pipes and wiring in the original kitchen:
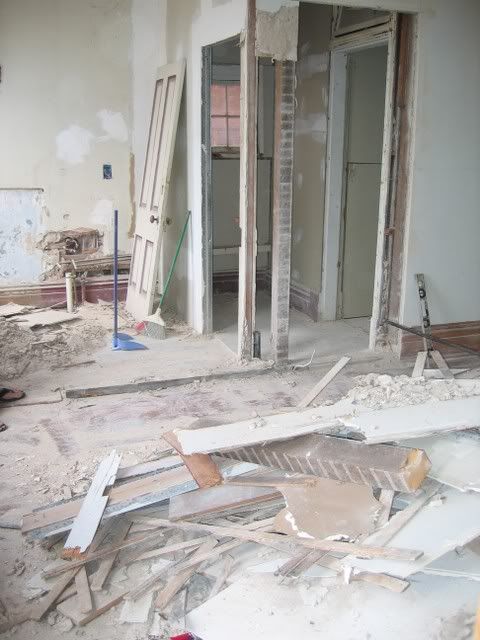
Next came the demolition of the wall between the kitchen and the living room. Notice my handsome husband with an expression indicating he is thinking, "I just finished knocking down a huge wall with this sledgehammer. You want some of this?" Except his clothing is way too clean for him to have just finished demoing a huge wall. Not to mention he is actually holding a flimsy plastic broom handle and not a sledgehammer.
Kitchen Before (during demolition):

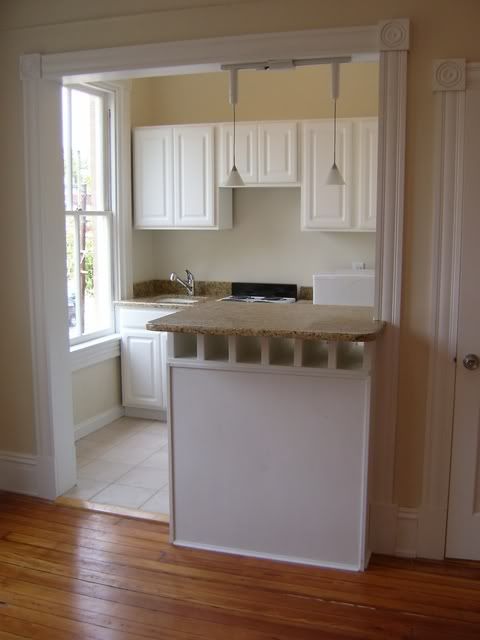
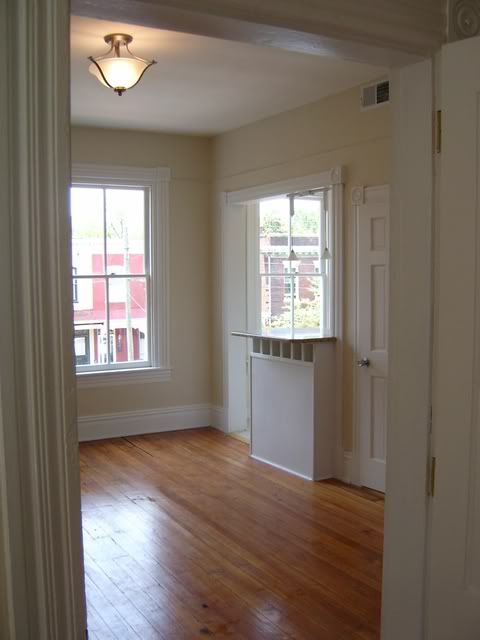
To safeguard structural integrity, we installed a header above the area where we removed the portion of the wall. With the wall gone, there was so much more light filtering into the rooms--instead of only one little window in the kitchen and two in the living room, removing the wall allowed for three exposed windows full of natural light!
We also raised the breakfast bar from counter height to bar height by added a custom wine rack on top of the cabinets and below the counter top. It was a unique feature, plus it added a little extra storage in a small kitchen where every little extra bit of storage space makes a big difference.
Kitchen After:
Since this is a relatively small apartment (roughly 650 square feet) we had to make the most of the available space. So, we moved the bathroom door from the original access point inside the kitchen, where the refrigerator is now (I don't think it would have been possible for the people who lived there before to fit a refrigerator inside the kitchen and still be able to open or close the bathroom door) to a new point of access with a door from the living room. This made it possible to add a compact fridge in the kitchen and allowed extra space for for cabinets. Plus, it just made more sense to be able to access the bathroom directly from the living room.
View of Kitchen/Bathroom Area Before:
Kitchen/Bathroom Area After:
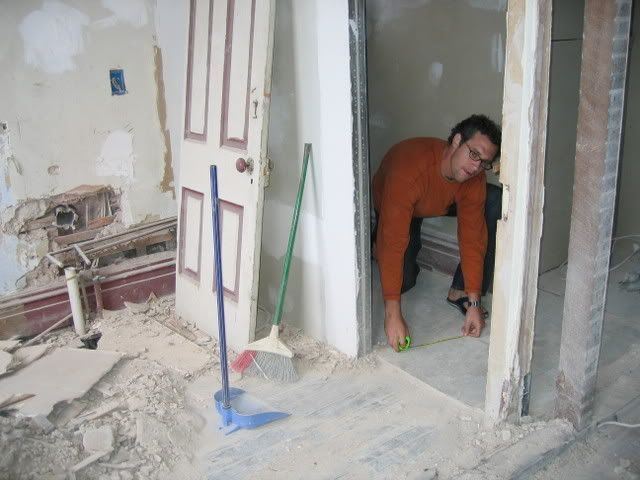
Here is yet another view of the kitchen/bathroom, as well as another awesome pose for dramatic effect, courtesy of my dear Brian. What is he pretending to measure with such a look of consternation? Dust? You can see where the original doorway to the bathroom used to be--Brian is peering through it:
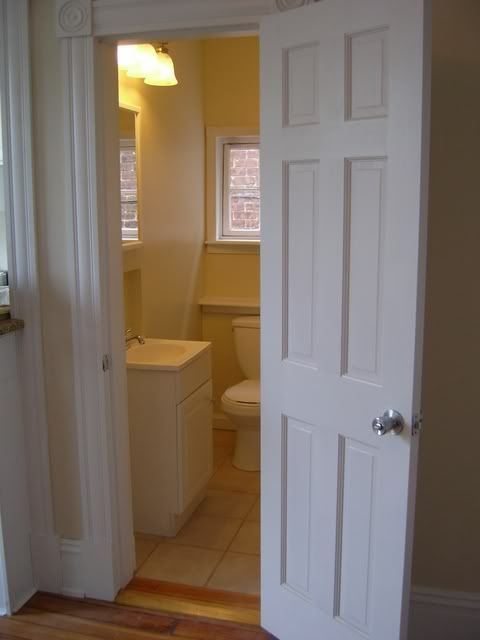
Bathroom After:
Living Room Before:
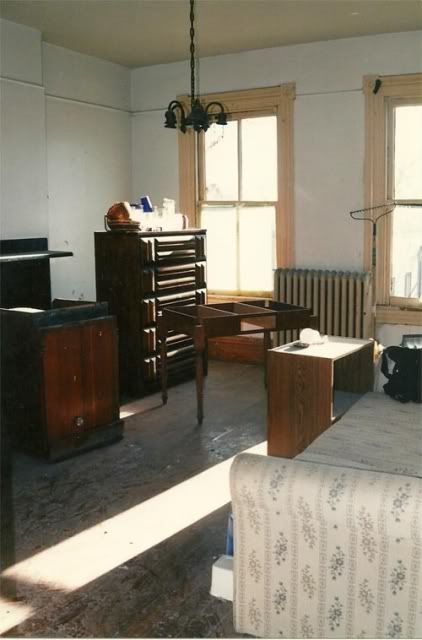
I know what you're thinking, and yes, all of that gorgeous furniture came with the house! As did the bonus nude photos in the dresser and the burned-bottom crack spoon in the corner of the bedroom! We also found some other unmentionables...let's just say the back door was swinging wide open when I came to look at the house the first time, and the house was rumored to be a squatter's haven and popular hangout of ladies of ill repute. The couch had to go right away. I'll leave it at that!
Living Room After:
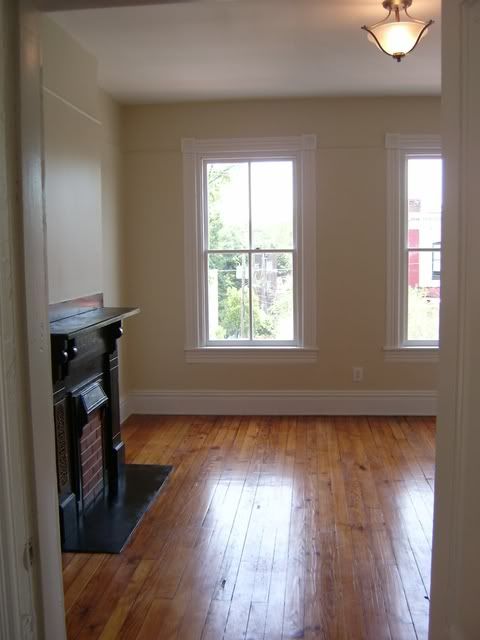
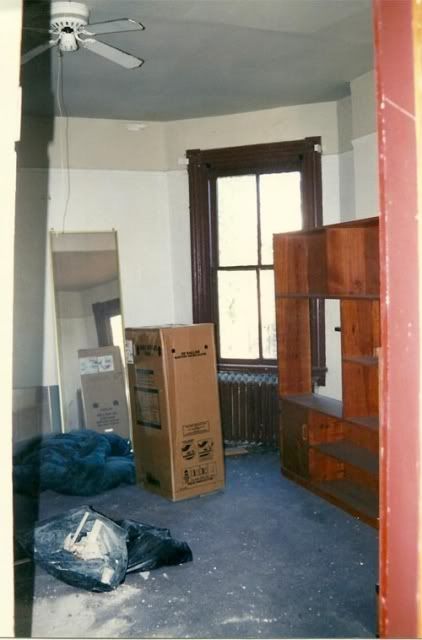
Bedroom Before:
Bedroom After (view #1):
One of my favorite features of the place, since the very beginning, were the five ornamental fireplaces throughout the house. Each one is unique in design, with different carved details on their surfaces. I also had a great appreciation for the antique moldings and extra tall floorboards, and wanted to restore them to their original splendor. To preserve the historical charm of the house, we had new wood milled to match the old wood details, to replace areas of molding and floorboards that were water damaged, broken and otherwise beyond repair.
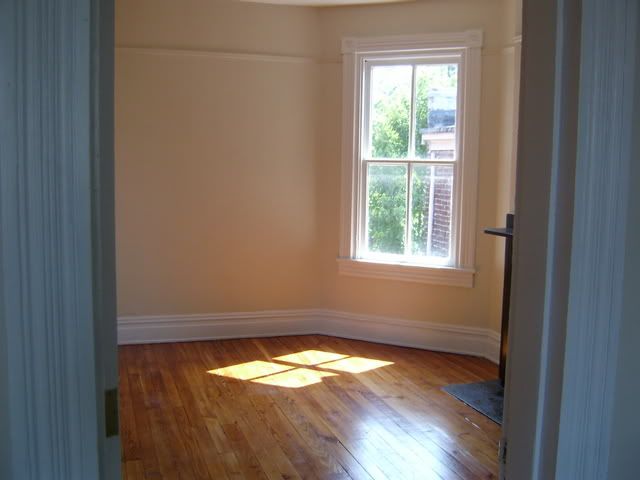
Bedroom After (view #2):
Since houses in 1885 were not built with closets (people liked to use bulky trunks and armoires back then and probably had a total three outfits each) we added closets in all of the bedrooms and utilized the high ceilings for extra storage above the closets.
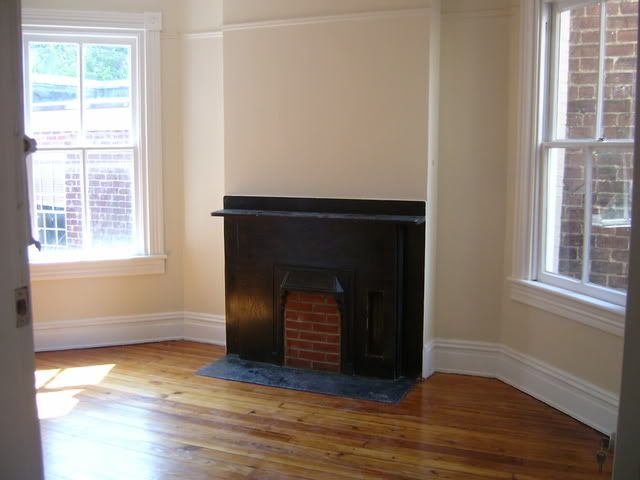
Bedroom After (view #3)
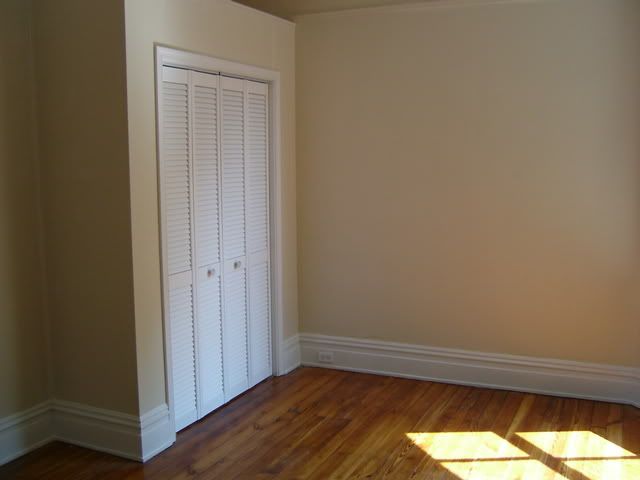
Luckily, the heart of pine floors were in relatively good shape. A few boards needed to be stabilized or replaced here and there. The floors had layers and layers of paint on them, and gummed up and fried two drum sanders, according to the professional who we hired to refinish them. I'm glad they followed through, despite their equipment failures and frustrations, because they did a fantastic job and the finished product was impressive. The floors are just gorgeous.
I need to finish digging up and scanning old photos for the other two units, and will post more before/after images shortly!
I can almost smell the heavy dust in the air looking at these pictures!
ReplyDeleteThe changes are astounding! This takes a special kind of "vision," most people would run away in horror!
ReplyDeleteBeautiful I love it.
ReplyDelete